Script Editor
A true page-layout screenplay editor — Courier 12, industry margins, paginated white pages, auto-formatting, scene navigation, revision mode, and direct export to PDF and FDX — all in one panel inside Thenema Writer.
Overview
What makes the Script Editor different from a regular text field.
The Script Editor is not a styled text area — it is a genuine page-layout engine. Your screenplay is rendered on white page rectangles at US Letter proportions (8.5 × 11 inches at 96 DPI) against a dark canvas. Margins, element indents, and font metrics all match the WGA/industry standard. What you see on screen is what will appear when you export to PDF or print.
The editor holds a single QTextDocument that flows continuously across pages. Page breaks are calculated from the document's line layout, not from fixed page counts, so adding or removing text reflows automatically without freezing the editor.
Page size: US Letter (8.5 × 11 in). Left margin: 1.5 in. Right margin: 1.0 in. Top margin: 1.0 in. Bottom margin: 1.0 in. Font: Courier New 12pt. One page ≈ 55 lines of action ≈ approximately one minute of screen time.
Page Layout Engine
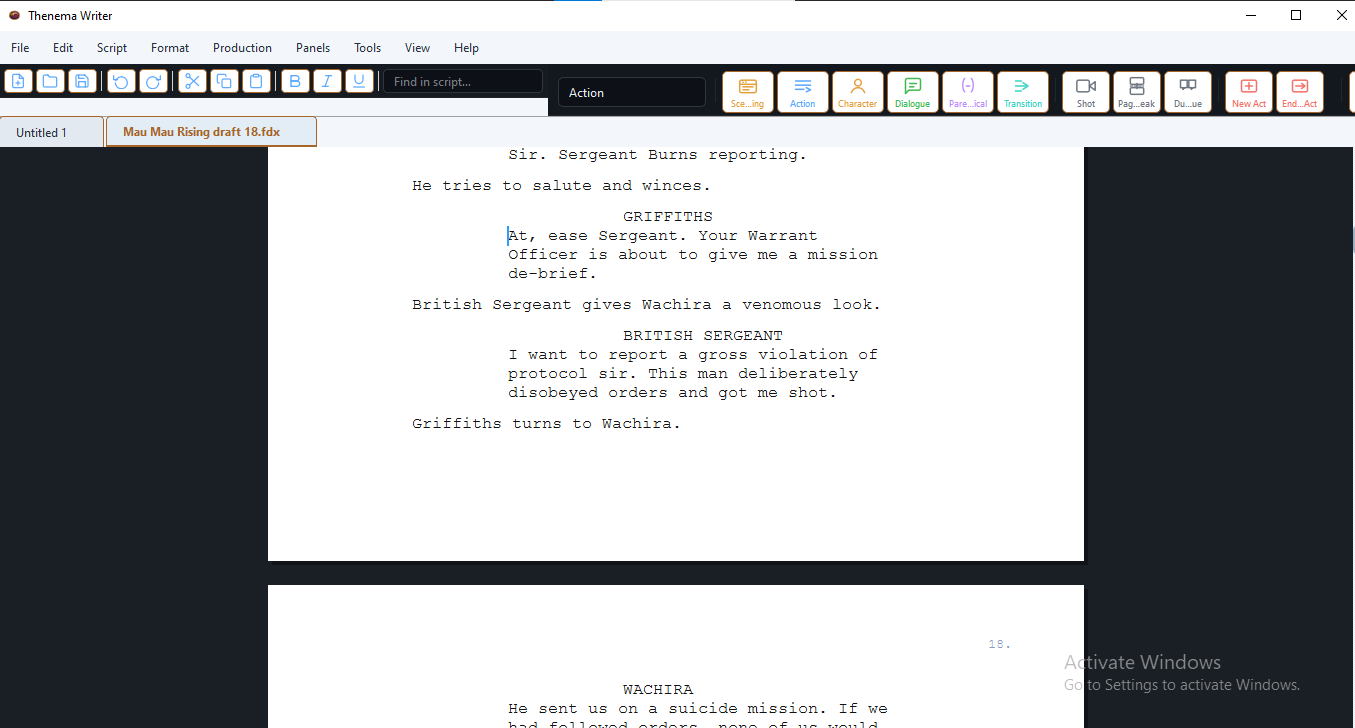
Canvas navigation
- Scroll — use the mouse wheel or the vertical scrollbar to move between pages.
- Click to position cursor — click anywhere on the page to place the text cursor there.
- Click and drag to select — click and hold, then drag to select a range of text.
- Page Up / Page Down — scroll by one viewport height.
- Ctrl+Home / Ctrl+End — jump to the very beginning or very end of the script.
Zoom
Use the zoom control in the parent application's menu (or the set_zoom_percent method if using the API) to scale the page view between 60% and 180% of the standard size. Zooming changes the on-screen size of the page but does not affect the output — PDF and print always render at 100%.
Ruler
A horizontal ruler can be toggled on or off from the parent application's menu. The ruler displays measurements in inches, centimetres, or millimetres and shows the left and right margin positions.
Screenplay Elements
The seven element types and their formatting rules.
Every paragraph in a screenplay belongs to one of seven element types. The Script Editor applies the correct formatting (indentation, capitalisation, font weight, alignment) automatically as you type or when you use the Tab key to cycle through types.
| Element | Left indent | Right indent | Style | When to use |
|---|---|---|---|---|
| Scene Heading | 0 | 0 | Bold, all caps | Starts every new scene. Begins with INT., EXT., INT/EXT., or I/E. |
| Action | 0 | 0 | Normal | Stage directions, descriptions, beats of physical action. |
| Character | 2.2 in | 0 | All caps | The speaking character's name, centred above their dialogue. |
| Dialogue | 1.0 in | 1.0 in | Normal | The spoken words. |
| Parenthetical | 1.6 in | 1.0 in | Normal | A brief acting direction inside parentheses, between character and dialogue. |
| Transition | 0 | 0 | All caps, right-aligned | CUT TO:, FADE OUT., DISSOLVE TO: etc. |
| Shot | 0 | 0 | Bold, all caps | A specific camera direction within a scene (CLOSE ON:, INSERT:). |
How elements are applied
The Script Editor infers the element type of each paragraph from its content and position using several rules:
- A line starting with INT., EXT., INT/EXT., or I/E. is automatically formatted as a Scene Heading.
- A line that is all-uppercase, between 2 and 35 characters, and follows an Action line is treated as a Character name.
- A line that follows a Character or Parenthetical is treated as Dialogue.
- A line that ends with " TO:" or matches common transition phrases (CUT TO:, FADE OUT. etc.) is formatted as a Transition.
- A line starting with "(" and ending with ")" is formatted as a Parenthetical.
You can override the automatic detection at any time by pressing Tab to cycle to the next element type, or by selecting an element from the Insert Element menu in the parent application.
Keyboard & Navigation
| Key | Action |
|---|---|
| Enter | Inserts a new paragraph. The next element type is inferred from the current one (Character → Dialogue, Dialogue → Dialogue, Scene Heading → Action, etc.). |
| Tab | Cycles forward through element types: Scene Heading → Action → Character → Dialogue → Parenthetical → Transition → Scene Heading. |
| Shift+Tab | Cycles backward through element types. |
| Ctrl+Enter | Inserts a manual page break. |
| Ctrl+Z | Undo. |
| Ctrl+Shift+Z or Ctrl+Y | Redo. |
| Ctrl+A | Select all. |
| Ctrl+C | Copy selected text. |
| Ctrl+X | Cut selected text. |
| Ctrl+V | Paste text from clipboard. |
| ← → ↑ ↓ | Move cursor by character or line. |
| Ctrl+← / → | Move cursor by word. |
| Home / End | Move cursor to start or end of current line. |
| Shift+arrow keys | Extend the selection. |
| Backspace | Delete the character before the cursor (or the selection). |
| Delete | Delete the character after the cursor (or the selection). |
Automatic capitalisation
When typing in a Character, Scene Heading, Transition, or Shot element, the editor automatically converts lowercase input to uppercase. In Action and Dialogue elements, the first character after a sentence-ending punctuation mark (. ! ?) is capitalised automatically.
Autocomplete
The Script Editor learns character names and scene locations from the document as you write and offers completion suggestions when you are typing a Character or Scene Heading element.
How it works
After a brief pause (approximately 800ms) following a keystroke in a Character or Scene Heading element, the editor scans the document for all existing Character names (or Scene Headings) that begin with the letters you have typed so far. If matches are found, a small dropdown popup appears below the cursor.
Accepting a completion
- Press ↓ / ↑ to navigate the list.
- Press Enter, Tab, or click a suggestion to accept it.
- Press Escape to dismiss the popup without accepting any suggestion.
Accepting a completion replaces all text on the current paragraph line with the chosen completion. The popup closes automatically after acceptance.
Scene Navigator
The Scene Navigator is a collapsible left-hand panel that lists every Scene Heading in the script, with its scene number and page number. Toggle it from the parent application's View menu or the dedicated button in the toolbar.
The navigator updates automatically as you type, debounced to 600ms to avoid continuous redraws while typing rapidly. Click any entry to move the cursor to the beginning of that scene.
Multi-Tab Editing
The Script Editor supports multiple scripts open at the same time in separate tabs. Each tab is an independent ScriptEditorWidget with its own document, undo history, and scene navigator state.
Opening a new tab
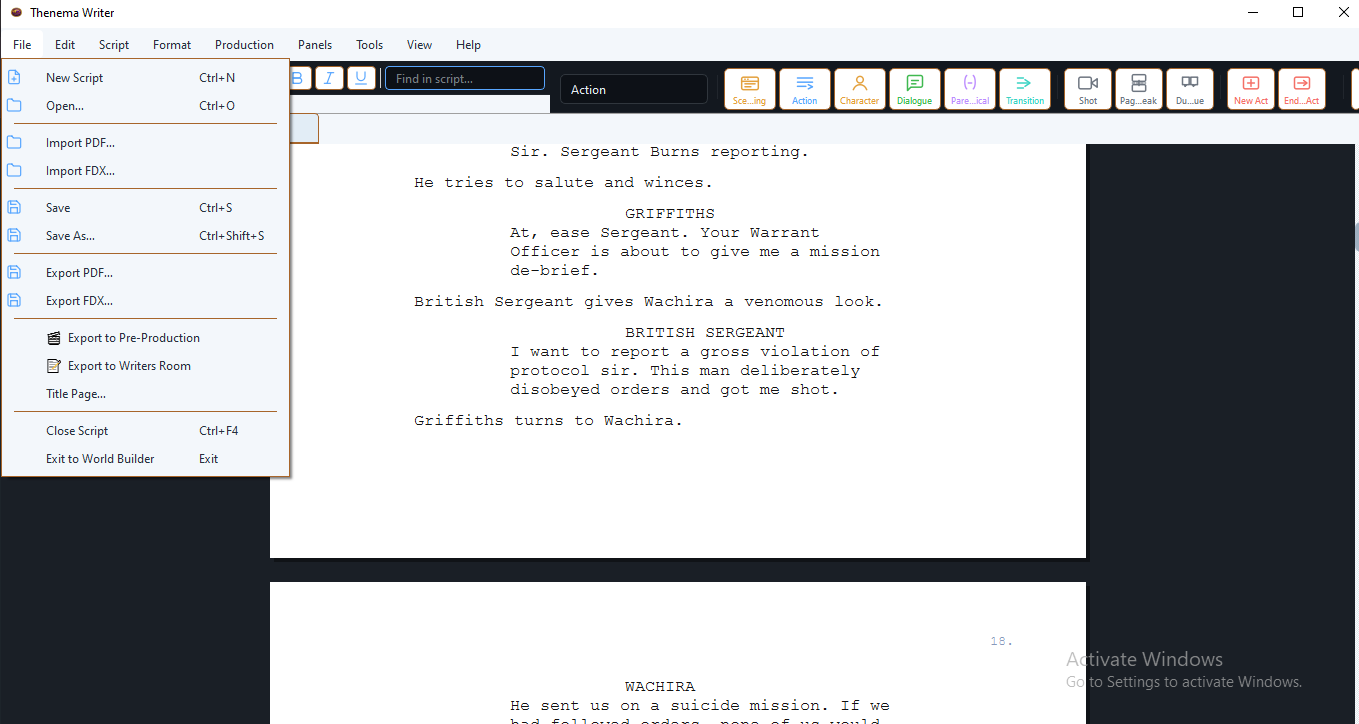
Use the parent application's File → New Script menu option to open a new blank tab. Tabs are labelled "Untitled 1", "Untitled 2" etc. by default. The label updates when the file is saved.
Closing a tab
Click the × on any tab to close it. If only one tab remains, closing it clears the editor rather than removing the tab. At least one tab is always visible.
Switching between tabs
Click a tab label to switch to it. You can also drag tabs to reorder them within the tab bar.
Revision Mode
Revision mode marks every paragraph you change with an asterisk in the right margin, tinted in your chosen revision colour. This matches the industry-standard revision tracking used in Final Draft and Movie Magic Screenwriter, where different drafts are colour-coded (White, Blue, Pink, Yellow, Green, Goldenrod etc.).
Enabling revision mode
Enable Revision Mode from the parent application's Revision menu. Select a revision colour from the colour picker (or type a hex value). All paragraphs you edit from that point forward will be marked with an asterisk in the chosen colour until revision mode is turned off.
Clearing revision marks
Disable Revision Mode from the same menu. All revision marks are cleared immediately. They are not stored persistently — revision marks exist only for the current session.
Title Page
Insert a formatted title page from the parent application's File → Title Page menu. The title page dialog accepts:
- Title — displayed in large text at the vertical centre of the page.
- Subtitle — displayed below the title.
- Written by / Author — displayed beneath the title and subtitle.
- Contact — displayed at the bottom-left (your name, address, email).
- Draft date — displayed at the bottom-right.
- Notes — any additional text at the bottom-left.
The title page is inserted as the first page of the document, separated from the script body by an automatic page break. The script body starts on page 1 (the title page is unnumbered).
Dual Dialogue
Dual dialogue (two characters speaking simultaneously in side-by-side columns) can be inserted from the parent application's Insert menu.
When inserted, a two-column table appears with pre-filled placeholder text: CHARACTER / (beat) / Dialogue. on each side. Click into each cell to replace the placeholder text with your own character names and dialogue. The column widths are fixed at 50/50.
Page Numbers & Scene Numbers
Page numbers
Page numbers are rendered by the editor in the margin at print time and in the canvas view. Configure them from the parent application's Format menu:
- Position — Top Right, Top Left, Top Centre, Bottom Right, Bottom Left, Bottom Centre, or None.
- Start number — the number assigned to the first numbered page (default: 1).
- Show on page 1 — toggle whether the first page shows a page number (professional convention is to omit it on page 1).
Scene numbers
Toggle scene numbers from the parent application's Format menu. When enabled, a sequential scene number is rendered in both the left and right margins beside every Scene Heading. Scene numbers increment across the full document. This matches the locked-script convention used in production when scenes are numbered for the breakdown and schedule.
CONT'D and MORE
The editor automatically renders (CONT'D) after a character name that appears at the top of a new page when the character's dialogue was interrupted by a page break. It also renders (MORE) at the bottom of a dialogue block that continues onto the next page. These markers are rendered at print time — they are not inserted into the document text and will not interfere with your writing.
Receiving from Other Panels
The Script Editor can receive content from several upstream panels. Content is always appended at the end of the current script (or at the cursor position, for the Synopsis).
| Source Panel | What arrives | How it arrives |
|---|---|---|
| Synopsis | The full synopsis text as Action paragraphs. | Appended at cursor position. |
| Treatment | All non-empty act tabs as a combined text block. | Appended at end of script. |
| Beat Sheet | Beats formatted as Scene Headings (INT./EXT. prefixed from beat titles) with Purpose and Notes as Action lines, grouped by act with Transition headers. | Appended at end of script, correctly formatted as screenplay elements. |
| Mind Map | Node titles and notes as Action paragraphs, one node per paragraph. | Appended at cursor position. |
Sending the Beat Sheet to the Script Editor is how your story transitions from outline to screenplay. Each beat title becomes a scene heading; each beat's purpose and notes become action lines under that heading. You then expand those action lines into a full scene. This is one of the most powerful workflow connections in Thenema Writer.
Exporting
Export to PDF
Available from the parent application's File menu. Exports the full script as a PDF file rendered at US Letter size, with Courier 12pt formatting, correct margins, page numbers, scene numbers (if enabled), CONT'D and MORE markers, and revision marks (if active). The PDF matches the on-screen page layout exactly.
Export to FDX (Final Draft)
Available from the parent application's File menu. Exports the script as an FDX file that can be opened in Final Draft 12 and later. Element types are preserved using stored paragraph metadata — the export is lossless and does not re-detect element types from text heuristics. Page breaks, dual dialogue tables, and all element types are included.
Export to Writers Room
The Script Editor's export to Writers Room function sends the current script text to the Writers Room panel, generating scene cards for every scene heading found. This is the primary way to move a completed first draft into the collaborative review process.
Send to Pre-Production
A dedicated button in the Script Editor's toolbar sends the current script text to the Pre-Production panel, where it can immediately be broken down into scenes, elements, and a shooting schedule.
Tips & Best Practices
Let the Tab key do the work
The fastest way to format a screenplay in the Script Editor is to use Tab to cycle element types and Enter to move to the next line. Avoid using the mouse for element changes — it is slower and interrupts your writing flow.
Trust the auto-detection for scene headings
If you start a line with INT. or EXT., the editor will automatically format it as a Scene Heading. You do not need to press Tab first.
Use the Scene Navigator for long scripts
Once your script is longer than 40–50 pages, the Scene Navigator becomes essential for moving between scenes quickly. Keep it open during revision passes.
Use revision colour to communicate draft status
In a team environment, assign each writer a revision colour and tell them to work in revision mode. The asterisk marks make it immediately clear which paragraphs have changed since the last locked draft.
Export to PDF before sharing
Always export to PDF before sending a script to a producer, script editor, or collaborator. The PDF preserves the exact page layout regardless of which application the recipient uses to open it.